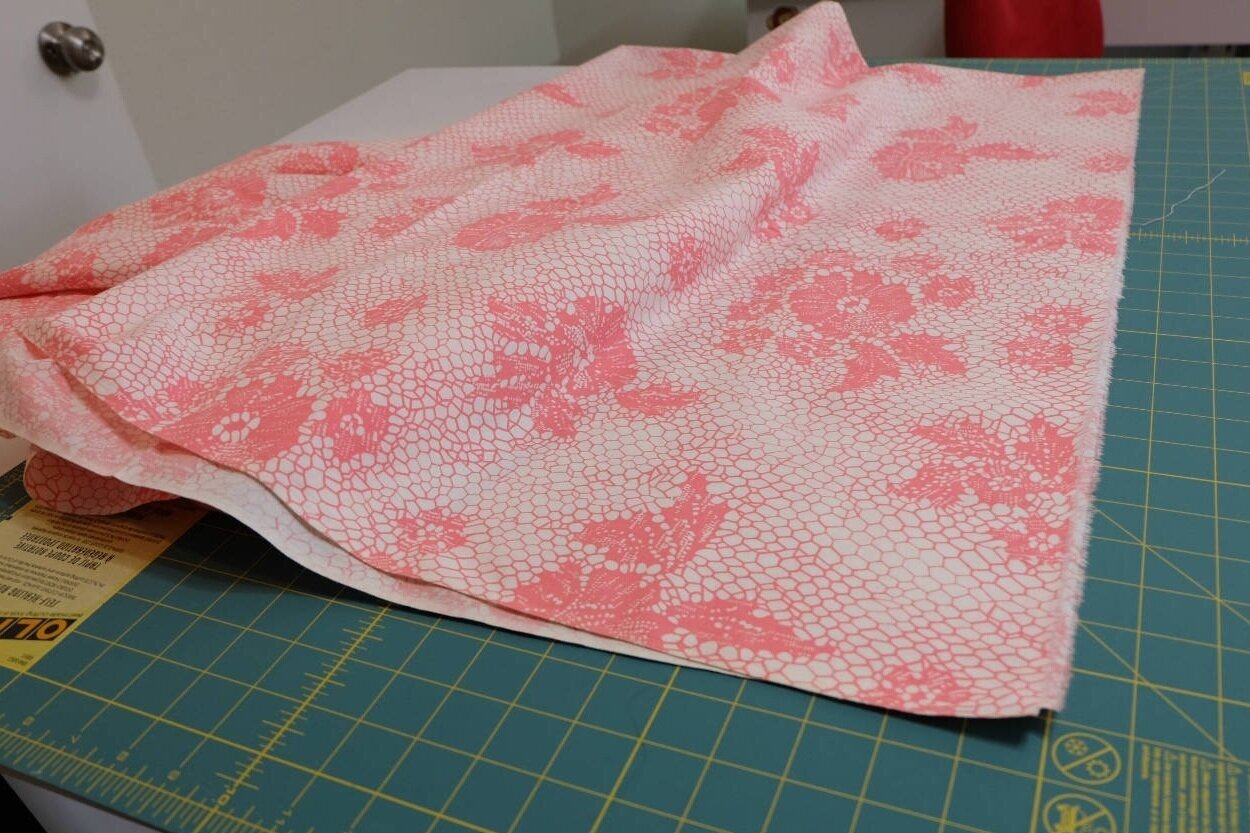
How to Get Your Fabric On Grain in 10 Easy Steps
Now that you know why you need to get fabric on grain before starting any sewing project, let’s learn how to do it!
Step 1
Fold your fabric so the top edge lines up; the selvage should line up too. It doesn’t have to be perfect, the goal is to make sure your fabric is smoothed out and lying flat.
Step 2
Next, cut the selvage of the top layer, about an inch down from the top edge of the fabric.
Step 3
Tear the fabric along the cut; use both hands and enjoy the satisfaction of tearing fabric to achieve grain perfection.
Step 4
Continue to tear across the entire width of the fabric. When you finish, you will have a small strip of alternating width. This will show how much the fabric was off grain.
Step 5
Meanwhile, set up your ironing board and set your iron for the heat setting appropriate for your type of fabric. This fabric is cotton, so the iron is set to high heat and high steam.
Step 6
Match up the raw edge of the folded fabric.
Step 7
Next, match the selvage and pin to hold in place. Once the top fabric edge and selvages are lined up, iron the fabric from the selvage back towards the fold. Use steam and let the hot fabric cool before moving it.
Step 8
The purpose of ironing is to put a new fold in the fabric, to keep it on-grain. If the fabric has been on the bolt or folded up for a long time, it will want to revert back to being off-grain along the original fold line.
Step 9
Once you’ve finished ironing in a new fold line, the vertical and horizontal grain of the fabric should line up to form a 90 degree angle.
Step 10
Now that the fabric is on-grain, you can easily see how off-grain it was by looking at the difference between the top and bottom layers at unmatched end of the fabric. My fabric was about and inch off-grain near the fold, but almost two inches off at the selvage. Good thing I took the time to achieve grain perfection!
Now that your fabric is on-grain, let’s move on to the next step—laying out your pattern for marking and cutting!
Want more sewing tips and tricks from Sew Sew Lounge? Click here to join the interactive Facebook group, Let’s Talk Sewing for Beginners! hosted by Sew Sew Lounge. Weekly live events and plenty of helpful info to get you up and sewing in no time. See you on the inside!


